Key Takeaways
- Clear rooms of furniture and coverings to prevent damage.
- Clean walls to ensure a smooth paint application.
- Protect floors and surfaces with drop cloths.
- Remove outlet covers and switch plates.
A great paint job doesn’t start with a brush — it starts with preparation. Taking the time to properly ready your home before interior painting ensures a flawless finish, saves time, and protects your belongings. Whether you’re tackling the project yourself or hiring professional painters, these steps will set you up for success.
The Importance of Proper Preparation for Interior Painting Success
The key to a flawless interior paint job lies in the preparation process. Proper preparation is essential for achieving a professional finish in your interior painting project. It not only ensures a smooth and even application of paint but also contributes to the longevity of the paint job.
Why Preparation Makes or Breaks Your Paint Job
Skipping prep can lead to streaky walls, peeling paint, or finishes that don’t last. Proper preparation ensures:
- Smooth, even paint coverage
- Longer-lasting results
- Less risk of costly mistakes
- A less stressful experience for you and your painters
Assessing Your Interior Painting Project Scope
To ensure a smooth interior painting process, evaluating the project's scope is essential. This involves understanding the size of the project, the condition of the walls, and the resources required to complete it.
Evaluating Room Conditions and Challenges
Begin by assessing the room's condition. Check for any damage or wear that could affect the painting process. Consider factors like the presence of mould, the condition of the trim, and any areas that may require special attention.
- Inspect walls for cracks or holes
- Check for water damage or stains
- Evaluate the condition of the ceiling
Measuring Spaces and Calculating Paint Requirements
Accurate measurements are crucial for determining how much paint you'll need. Measure each room's dimensions, including the height of the ceilings. Use these measurements to calculate the total surface area to be painted.
- Measure the length and width of each room
- Calculate the total surface area to be painted
- Consult with a paint professional or use online calculators for guidance
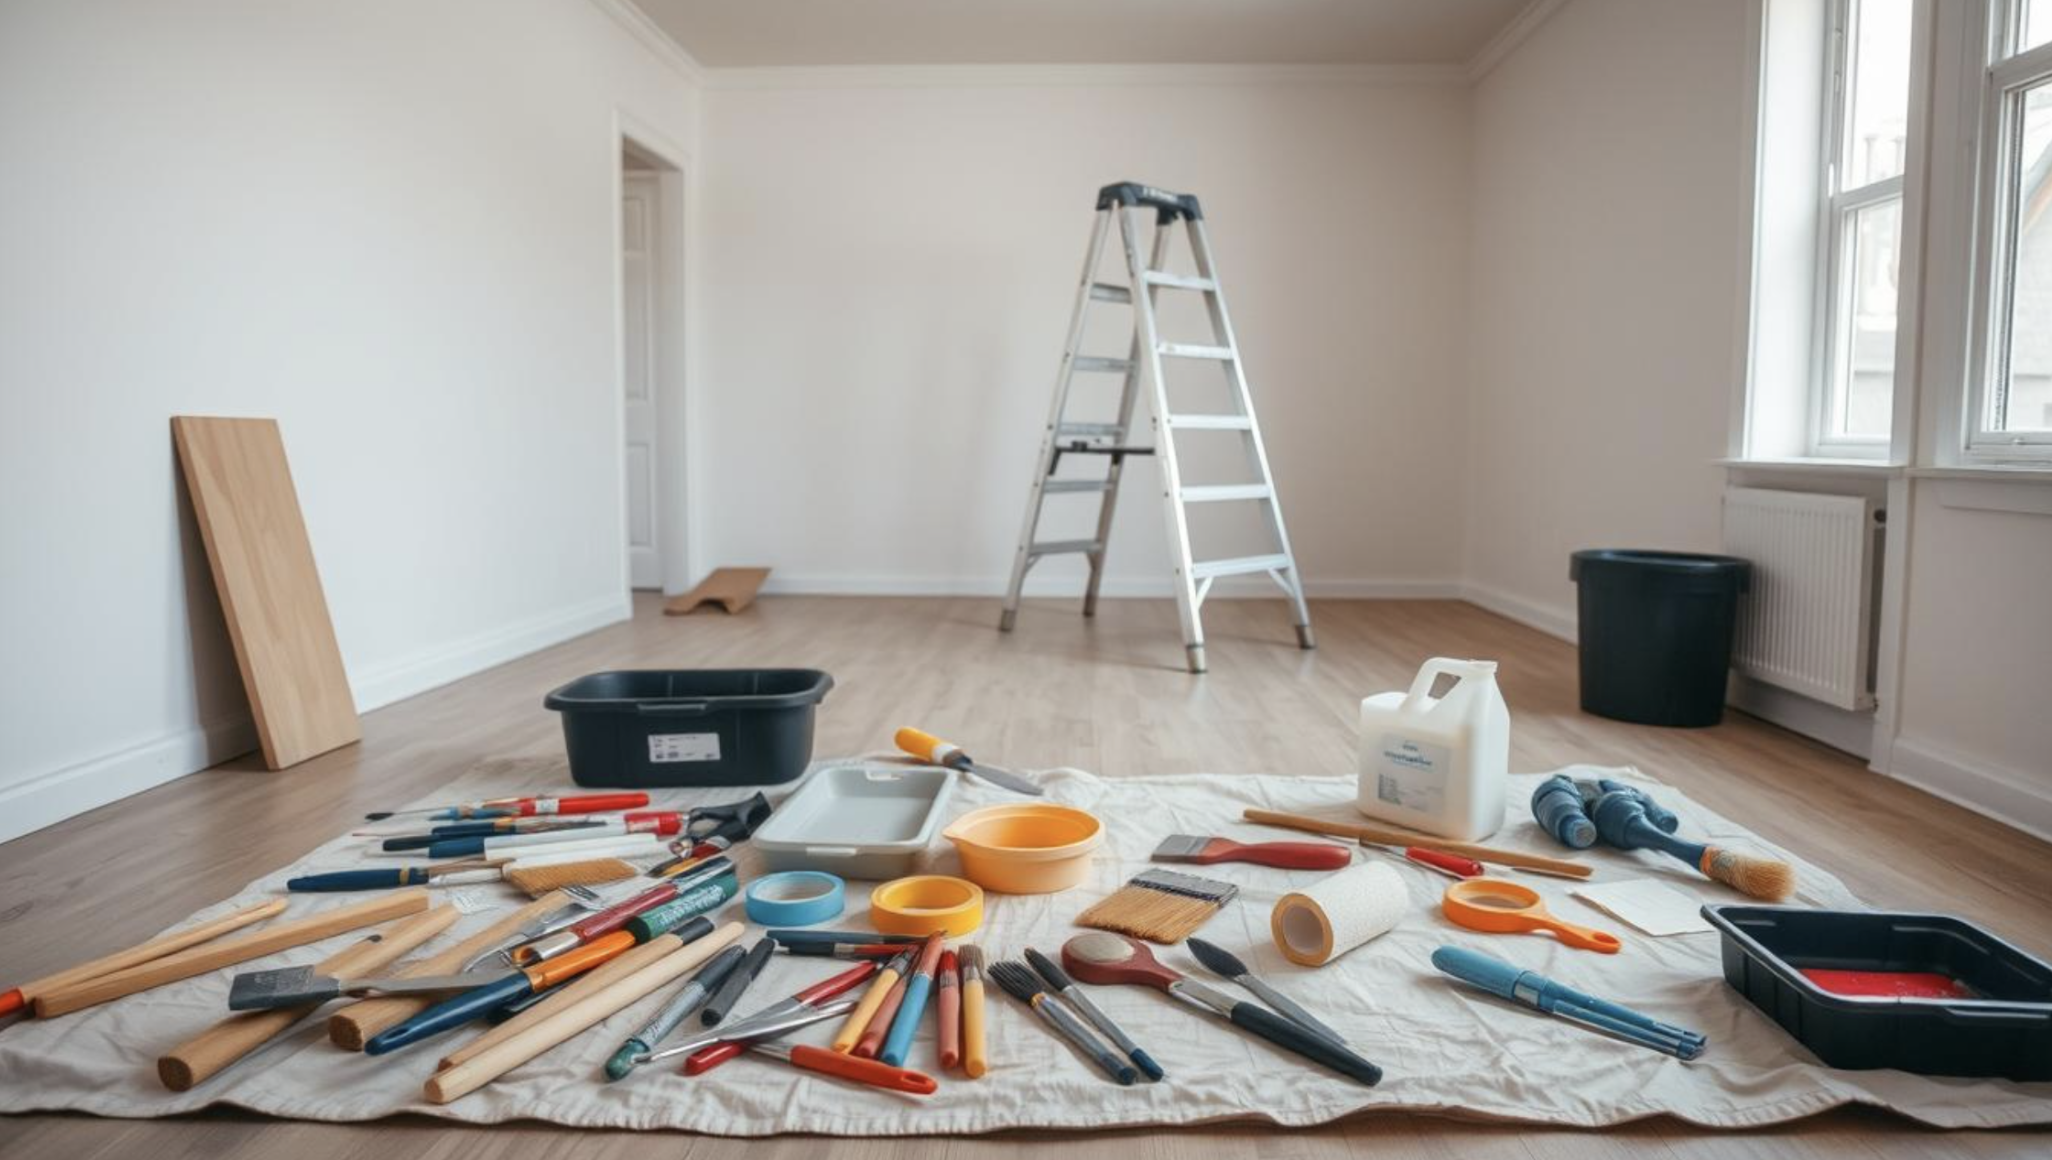
Essential Tools and Materials Checklist
To achieve professional-looking results, you'll need to assemble the essential tools and materials for your interior painting project. Having the right equipment not only makes the process smoother but also ensures a high-quality finish that will last.
Preparation Tools Every DIY Painter Needs
Before you start painting, you'll need a set of basic preparation tools. These include drop cloths to protect your floors, sandpaper for smoothing surfaces, and painter's tape for creating clean lines. Additionally, you'll need a putty knife for filling holes and cracks, and a paint scraper for removing old paint or wallpaper.
Quality Materials for Long-Lasting Results
Investing in quality interior paints is crucial for achieving long-lasting results. High-quality paints not only provide better coverage but also resist fading and wear more effectively. When selecting paint, consider factors such as the type of surface you're painting, the color retention, and the finish you desire.
Where to Source Supplies in New Zealand
In New Zealand, you can find interior painting supplies at local hardware stores, specialty paint suppliers, and online retailers. When choosing where to source your materials, consider factors such as product availability, pricing, and expert advice.
Local Hardware Stores vs. Specialty Paint Suppliers
Local hardware stores offer a wide range of general painting supplies, while specialty paint suppliers provide a broader selection of paints and expert advice. For specific or high-end painting projects, consider visiting a specialty paint supplier for the best results.
Cost-Saving Tips for Quality Materials
To save costs without compromising on quality, consider buying paint in larger quantities, looking for discounts or sales, and using alternative materials for certain tasks. For example, using a high-quality primer can reduce the number of coats of paint needed, ultimately saving you money.
Furniture and Fixture Protection Strategies
Interior painting requires more than just paint; it demands careful preparation, including protecting your home's furnishings. When hiring professional painters for your residential painting project, it's crucial to ensure that your belongings are safeguarded against paint splatters and damage. - We protect floors and furniture ourselves if it cant be removed from the room.
Proper Furniture Removal and Storage Techniques
Removing furniture from the painting area is ideal. If this isn't possible, cover furniture with plastic or drop cloths to protect it from paint spills. For items that are too heavy to move, consider rearranging them away from walls that are being painted.
Covering Immovable Items Effectively
For fixtures and large items that cannot be moved, use specialised covers or plastic sheets to shield them from paint. Secure these coverings with tape to prevent them from shifting during the painting process.
Protecting Floors and Carpets
Drop cloths or protective floor coverings are essential for safeguarding your floors. Ensure these coverings are securely fastened to prevent them from moving and exposing your floors to potential paint spills.
Wall and Surface Cleaning Techniques
Proper wall and surface cleaning is the foundation of a successful interior painting project. Cleaning your walls and surfaces ensures a smooth, even finish and helps the paint adhere better.
Start by dusting your walls using a soft-bristled brush or a microfibre cloth to remove cobwebs and loose dirt. For more stubborn dirt, mix a solution of warm water and mild detergent Or use a Sugar soap mix , and gently scrub the area. Rinse with clean water and let it dry completely before painting.
Dealing with Mould and Mildew in New Zealand Homes
Mould and mildew are common issues in New Zealand homes due to the humid climate. Identifying the type of mould is crucial for effective removal.
Identifying Common New Zealand Mould Types
Common mould types include black mould, green mould, and white mould. Each type requires a specific removal approach.
Eco-Friendly Mould Removal Solutions
For an eco-friendly solution, mix baking soda and water to create a paste, or use vinegar. These methods are effective and safe for your family and pets.
Degreasing Kitchen and Bathroom Surfaces
Kitchen and bathroom surfaces often require degreasing before painting. Use a degreaser or a mixture of warm water and dish soap Or Sugarsoap to remove grease and grime. Rinse thoroughly and let it dry.
By following these wall and surface cleaning techniques, you'll be well-prepared for a successful interior painting project.
Repairing Wall Imperfections Before Interior Painting
Repairing wall imperfections is a vital step in the interior painting process that can make or break the final result. Before applying a fresh coat of paint, it's essential to address any flaws on your walls to ensure a smooth, professional-looking finish.
Filling Holes and Cracks Properly
Filling holes and cracks is a crucial part of wall repair. Start by cleaning out any debris from the holes or cracks using a vacuum or a damp cloth. Then, apply a filler compound, such as spackling paste, using a putty knife. Smooth out the filler to be level with the surrounding wall surface. Allow the filler to dry completely before sanding it down to a smooth finish.
Sanding Techniques for Smooth Surfaces
Sanding is a critical step in achieving a smooth wall surface for painting. Use a medium-grit sandpaper to sand down filled areas or rough patches on the wall. Sand in a circular motion to avoid creating scratches. Once you've sanded the entire wall, wipe it down with a damp cloth to remove any dust or debris. For an even smoother finish, finish with a fine-grit sandpaper.
Dealing with Water Damage and Stains
Water damage and stains can be particularly challenging when preparing walls for painting. Identify and fix the source of the water damage before proceeding. For water stains, apply a stain-blocking primer to prevent the stain from bleeding through the new paint.
Solutions for Persistent Water Stains
For persistent water stains, consider using a mold-killing primer to ensure the stain is fully covered and to prevent mold growth. Apply the primer according to the manufacturer's instructions.
Preventing Future Water Damage
To prevent future water damage, inspect your walls regularly for signs of leaks or moisture. Ensure that your home's gutters and downspouts are functioning correctly, and consider improving ventilation in humid areas like bathrooms and kitchens.
Masking and Taping for Professional-Looking Results
For a flawless finish in your interior painting project, mastering the art of masking and taping is essential. This step is crucial in achieving clean, crisp lines that define a professional-looking paint job.
Choosing the Right Painter's Tape
Selecting the appropriate painter's tape is the first step towards achieving professional results. Look for tape that is specifically designed for painting, as it will be gentle on surfaces yet effective at creating a seal. Consider the type of surface you're working with; for delicate or textured surfaces, a more specialized tape may be necessary.
Proper Taping Techniques for Clean Lines
Applying painter's tape correctly is just as important as choosing the right tape. Ensure the surface is clean and dry before applying the tape to guarantee a good seal. Press the tape down firmly, especially along the edges, to prevent paint from seeping underneath.
Areas That Require Special Attention
Certain areas in your home require extra care when masking and taping. Pay particular attention to edges around trim, baseboards, and any intricate details. Using a putty knife or similar tool can help seal the tape and prevent paint bleed.
By focusing on these key areas and techniques, you can achieve a professional-looking finish in your interior painting project.
Priming Surfaces: When and How to Apply Primer
Priming surfaces is a vital preparation step that can significantly impact the final result of your interior painting project. It ensures a uniform base for painting, improves paint adhesion, and can cover stains or discolourations.
Situations That Require Primer Application
Not all painting projects require primer, but certain situations demand its application. These include:
- Stained or discoloured surfaces
- Bare wood or drywall
- Previously painted surfaces with uneven colour or finish
- Areas with water damage or stains
Using a primer in these situations can significantly enhance the final appearance and durability of the paint job.
Selecting the Right Primer for Different Surfaces
Choosing the correct primer depends on the surface you're working with. For instance:
- For bare wood, use a wood primer to seal the surface and prevent tannin bleed.
- For drywall, a universal primer is often sufficient.
- For metal surfaces, a metal-specific primer is required to prevent rust.
Application Techniques for Even Coverage
To apply primer effectively, follow these steps:
- Use a high-quality brush or roller suitable for the primer you're using.
- Apply primer in thin, even coats, allowing the first coat to dry completely before applying a second.
- Work in sections to maintain even coverage.
By following these guidelines, you can achieve a smooth, professional-looking finish that will enhance the overall quality of your interior painting project.
Special Considerations for Different Room Types
A successful interior painting project requires tailoring your approach to the specific characteristics of each room. Different rooms in your home have unique challenges and requirements, from moisture issues in kitchens and bathrooms to wear and tear in high-traffic areas.
Preparing Kitchens and Bathrooms
Kitchens and bathrooms require special attention due to their exposure to moisture, heat, and heavy use. Proper preparation is key to ensuring a long-lasting paint job.
Addressing Moisture and Ventilation Issues
Moisture can lead to mould and mildew, compromising the paint job. Ensure good ventilation and consider using a mould-resistant primer.
Preparing Surfaces Around Plumbing Fixtures
Carefully clean and prepare surfaces around sinks, toilets, and showers. Use a suitable primer to ensure paint adheres well to these areas.
Living Areas and Bedrooms
Living areas and bedrooms typically require less specialised preparation than kitchens and bathrooms. However, attention to detail is still crucial for a professional finish.
Remove furniture or cover it properly, and clean the walls thoroughly to remove dust and dirt.
Hallways and High-Traffic Areas
Hallways and high-traffic areas are prone to scuffs and marks. Use a durable paint finish and consider applying a protective coat to high-wear areas.
Safety Precautions During Interior Painting Preparation
Preparing your home for painting involves more than just covering furniture; it includes taking necessary safety precautions to ensure a hazard-free experience. A safe and healthy environment is vital for a successful interior painting project.
Ventilation Requirements for New Zealand Homes
Proper ventilation is crucial when preparing for interior painting. Open windows and doors to provide good airflow, especially when working with paint or chemicals. This helps to prevent the buildup of harmful fumes and reduces the risk of inhaling toxic substances.
Personal Protective Equipment Essentials
Wearing personal protective equipment (PPE) is essential for protecting yourself from potential hazards. This includes gloves to prevent skin contact with chemicals, goggles to protect your eyes, and masks to avoid inhaling fumes or dust.
Safe Handling of Preparation Materials
Handling preparation materials safely is critical to preventing accidents. Always read the labels on chemicals and follow the instructions. Store materials out of reach of children and pets, and dispose of any waste properly to avoid environmental contamination.
By following these safety precautions, you can ensure a safe and successful interior painting project. Remember, safety should always be your top priority when undertaking any home improvement task.
Professional Interior Painting in New Zealand
While DIY prep can save money, larger projects or homes with damage often require a professional touch. Skilled painters handle:
- Thorough prep and surface repair
- Proper priming and protection
- Faster, cleaner results with professional-grade tools
When choosing a painter, look for:
- Proven experience and reviews
- Clear, detailed quotes (including prep and cleanup)
- Insurance and workmanship guarantees
Signs Your Project Requires Expert Help
Some interior painting projects require more than just a fresh coat of paint. If you're dealing with uneven surfaces, water damage, or intricate designs, it's likely time to call in the experts. Professional painters have the skills and equipment to handle complex jobs, ensuring a flawless finish.
Evaluating Interior Painting Services and Quotes
When selecting an interior painting service, it's crucial to evaluate their experience, portfolio, and customer reviews. Requesting quotes from multiple providers can help you compare prices and services. Look for interior painting Christchurch services that offer comprehensive packages, including preparation and cleanup.
What to Expect from Professional Preparation Services
Professional interior painters don't just paint; they prepare. This includes cleaning surfaces, repairing damages, and protecting your furniture and floors. Understanding what to expect can help you prepare for the project and ensure a smooth process.
Standard Practices of Reputable New Zealand Painters
Reputable painters in New Zealand such as Picture Perfect Painting, follow standard practices that include thorough surface preparation, use of high-quality materials, and meticulous cleanup. They also provide a clear timeline and communicate effectively throughout the project.
Questions to Ask Before Hiring a Professional
Before hiring, ask about their experience with similar projects, their preparation process, and what is included in their service. It's also wise to inquire about their insurance and warranty policies to protect your investment.
Conclusion: Setting Yourself Up for Interior Painting Success
Proper home preparation is the foundation of a successful interior painting project. By following the steps outlined in this article, you'll be well on your way to achieving professional-looking results. From assessing your project scope to applying the final coat, every detail matters in interior painting.
Remember, taking the time to prepare your home correctly will save you time and stress in the long run. Whether you're a seasoned DIY enthusiast or a first-time painter, careful preparation is key to painting success. This includes protecting your furniture and fixtures, cleaning and repairing surfaces, and using the right tools and materials.
By investing in quality materials and taking the necessary precautions, you'll be able to enjoy a beautifully painted home that looks great for years to come. So, take the first step towards transforming your space with confidence, knowing that your interior painting project is in good hands.
FAQ
What is the best way to prepare my home for interior painting?
To prepare your home for interior painting, start by clearing the room of furniture and cover the floors and any remaining furniture with drop cloths. Clean the walls to remove dirt, grime, and grease, and fix any holes or cracks. Remove switch plates and outlet covers, and tape off trim and mouldings.
What type of paint is best for my interior walls?
The best type of paint for your interior walls depends on the surface you're painting, the level of durability you need, and your personal preference. For most interior walls, a high-quality, water-based acrylic paint is a good choice. Consider factors like finish, colour retention, and eco-friendliness when making your selection.
Do I need to prime my walls before painting?
Priming your walls before painting is recommended if you're dealing with stained or damaged surfaces, bold colours, or a significant colour change. Primer helps ensure a uniform base for painting, improves paint adhesion, and can reduce the number of coats needed.
How can I protect my floors and furniture during the painting process?
To protect your floors and furniture during the painting process, cover them with drop cloths or plastic sheets, and secure them with tape. Remove any valuable or sensitive items from the room, and consider relocating furniture to a safe area.
What safety precautions should I take when painting my home's interior?
When painting your home's interior, ensure good ventilation by opening windows and using fans. Wear protective gear like gloves, masks, and safety glasses, and avoid painting in poorly ventilated areas. Keep paint and materials out of reach of children and pets, and follow the manufacturer's instructions for any products used.
What are the benefits of hiring a professional interior painter?
Hiring a professional interior painter can save you time and effort, ensure a high-quality finish, and provide access to expert advice on colour selection, paint types, and preparation techniques. Professionals also have the necessary equipment and safety gear to complete the job efficiently and safely.
How long does it take to complete an interior painting project?
The time it takes to complete an interior painting project depends on the size of the area to be painted, the number of coats required, and the complexity of the job. On average, a standard room can take anywhere from a few hours to a few days to complete.
How do I choose the right interior painting service in Christchurch?
When choosing an interior painting service in Christchurch, look for professionals with a good reputation, relevant experience, and a comprehensive quote that includes preparation, painting, and cleanup. Check their insurance, licences, and customer reviews to ensure you're hiring a reliable and skilled painter.